I start by making a “H-shaped” incision with cautery in the peri-chondrial over each cartilage to be excised. This is easy enough along the straight upper cartilages. The lower ones which are oblique and rotated will make it difficult to perform perfect incisions but don’t worry. The important matter, particularly in children is not to go out as wide as the germinal centres at the ends of the ribs. Some surgeons use a knife to make these incisions but I find that makes for a lot of bleeding. The diathermy does tend to weld the peri-chondrium to the cartilage but I find this the lesser of two evils.
Perichondrial incision (Quicktime movie 11 secs 864K)
|
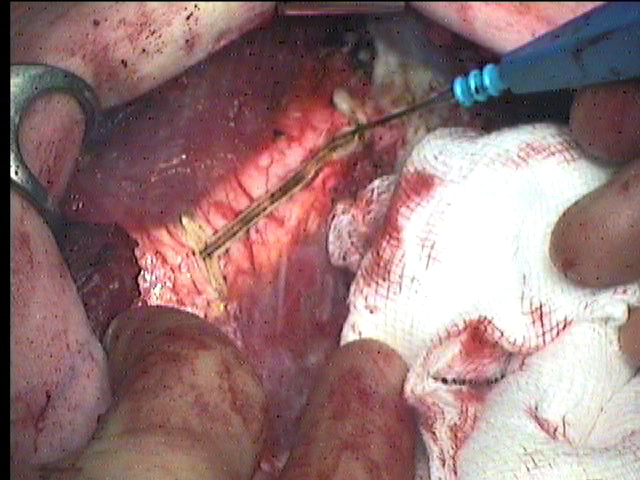 |
Now in turn each cartilage from the second to the costal margin is stripped of its peri-chondrium. The peri-chondrium is lifted with a combination of the force of an orthopaedic surgeon and the dexterity of a plastic surgeon, all the time knowing the heart is just behind if your hand slips. It is important to stay in the correct layer and not to drift out into the inter-costal space where you will cause bleeding.
Perichondrial flaps (Quicktime movie 20 sec 1.8Mb)
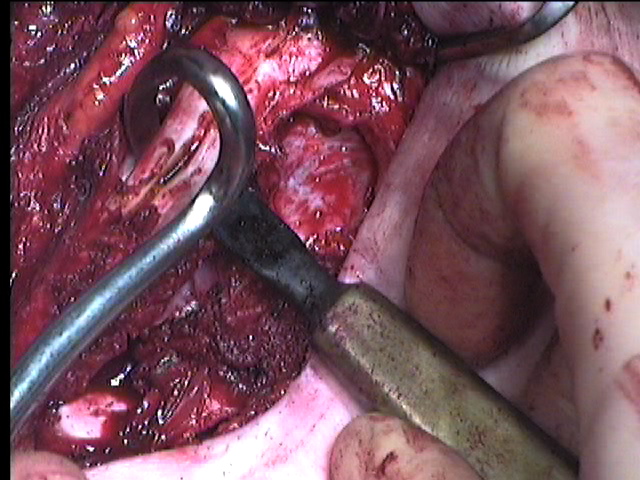
Once the peri-osteal elevator has lifted the peri-chondrium off the front of the cartilage the Doyen raspitory develops the posterior layer. I usually lever the cartilage forward with the peri-osteal elevator to guide the rongeur safely between the cartilage and peri-chondrium. Once around in the right layer it is quite straightforward to strip medially and laterally.
Completing perichondrial strip with Doyen (Quicktime movie 8 sec 316K)
|
 |
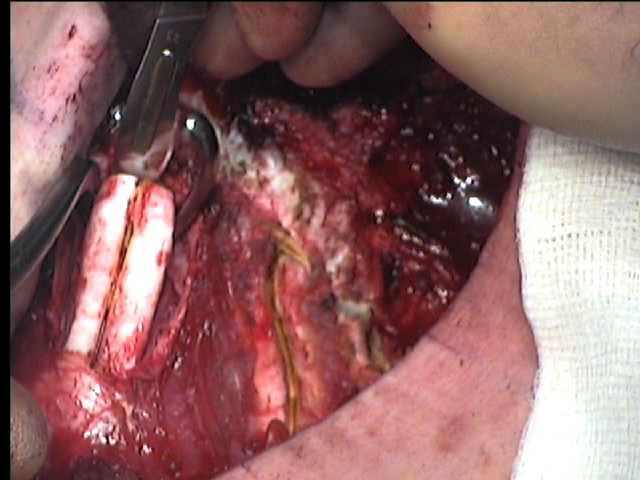
| Using the rongeur beneath the rib to protect the pleura and vessels, the cartilage is cut at each end. Some surgeons only cut a small section from the centre of each cartilage to free the sternum but I find it better to take most of the cartilage leaving the medial and lateral ends intact. In adults it is permissible and safe to dislocate the chondro-sternal junction.
|
 |
