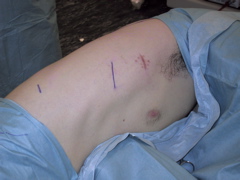
Figure 1. Anterior port positions
A roll (or litre fluid bag) is placed under the lower ribs and the table broken to open the intercostal spaces. The camera and anterior access ports are seen
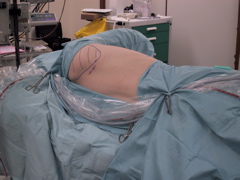
Figure 2. Posterior port position
The patient is placed in a standard lateral thoracotomy position with the posterior port through the auscultatory triangle.

Figure 3. Intercostal block
Guided by the camera inside the chest, each intercostal nerve is blocked with chirocaine prior to pleurectomy.
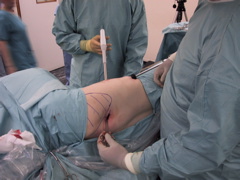
Figure 4. Stapling blebs (external)
The principle of 'triangulation' is well demonstrated as the stapler is introduced through the port.
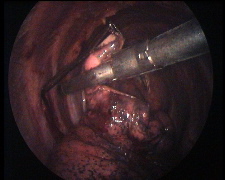
Figure 5. Stapling the apical blebs
An endocopic stapler is placed across the apex. I prefer to cut the blebs rather than the 'no-knife' stapler as one is then confident that the abnormal tissue is removed and is no longer in connection with the remaining lung.
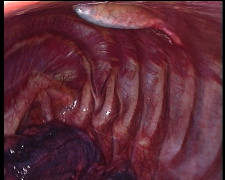
Figure 6. Finding the pleural layer
A Roberts forceps is passed from each of the operating ports raising the pleura as they go, to meet in the middle, to lift off the pleura

Figure 7. Cutting the pleura
A pair of scissors is passed alongside the Robert's dividing the pleua in a line between the operating ports.
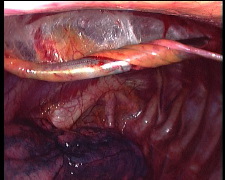
Figure 8. Rolling the pleura off the ribs
The free edge of the pleura is grasped in the Robert's forceps and teased off the ribs. Rolling it gives it added strength.
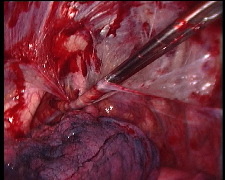
Figure 9. Apical strip
The pleurectomy can safely be carried over the apex down to the azygous vein or aortic arch. (A longer Kaiser Pilling curved de Bakey forceps is being used here)
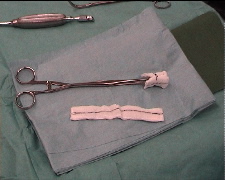
Figure 10. Preparing swabs for abrasion
The abrasion is carried out using a tonsil wipe on a sponge holding forcep. Double it over and grasp the fold in the forceps. fold the two tails over the forcep to create a 'W' and place a single suture on either side to fix it in place.
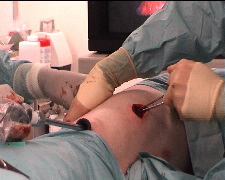
Figure 11. Abrasion of the basal pleura
The abrading swab is palpated using a hand on the outside of the chest. The camera maintains vision.
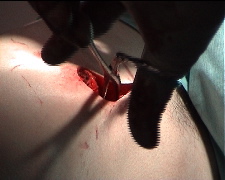
Figure 12. Subcutaneous tunnel for apical drain
After closure of the muscle layer, a subcutaneous tunnel is created for the apical drain.
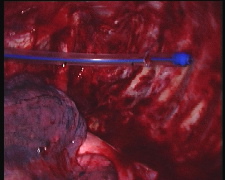
Figure 13. Placing the apical drain
The blunt trocar is used to place the drain in the ape, curling it round the apex so that it is not pulled out by the re-expanding lung.
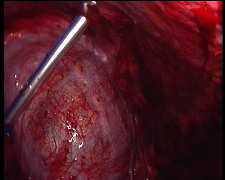
Figure 14. Basal drain
The camera is moved to the posterior port to observe the basal drain being placed over the diaphragm through the basal camera port.
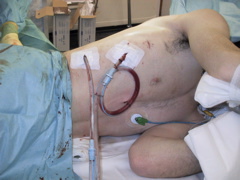
Figure 15. Skin fixation
Placing and fixing the apical drain is the most important part of the procedure. Three point fixation reduces the chances of the drain kinking, coming apart or being inadvertently pulled out.